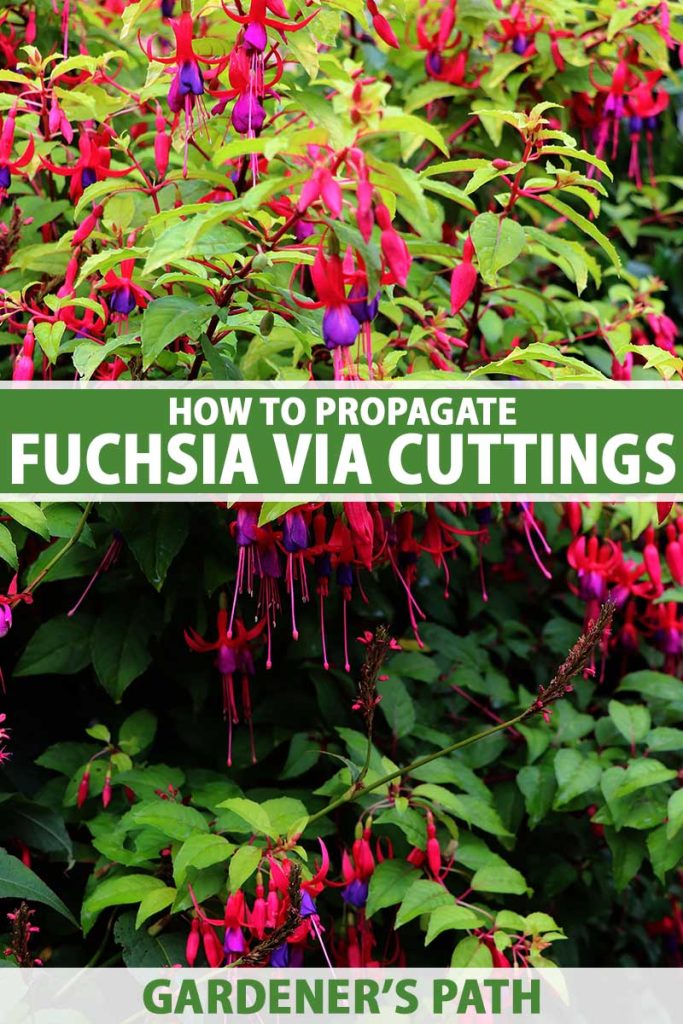
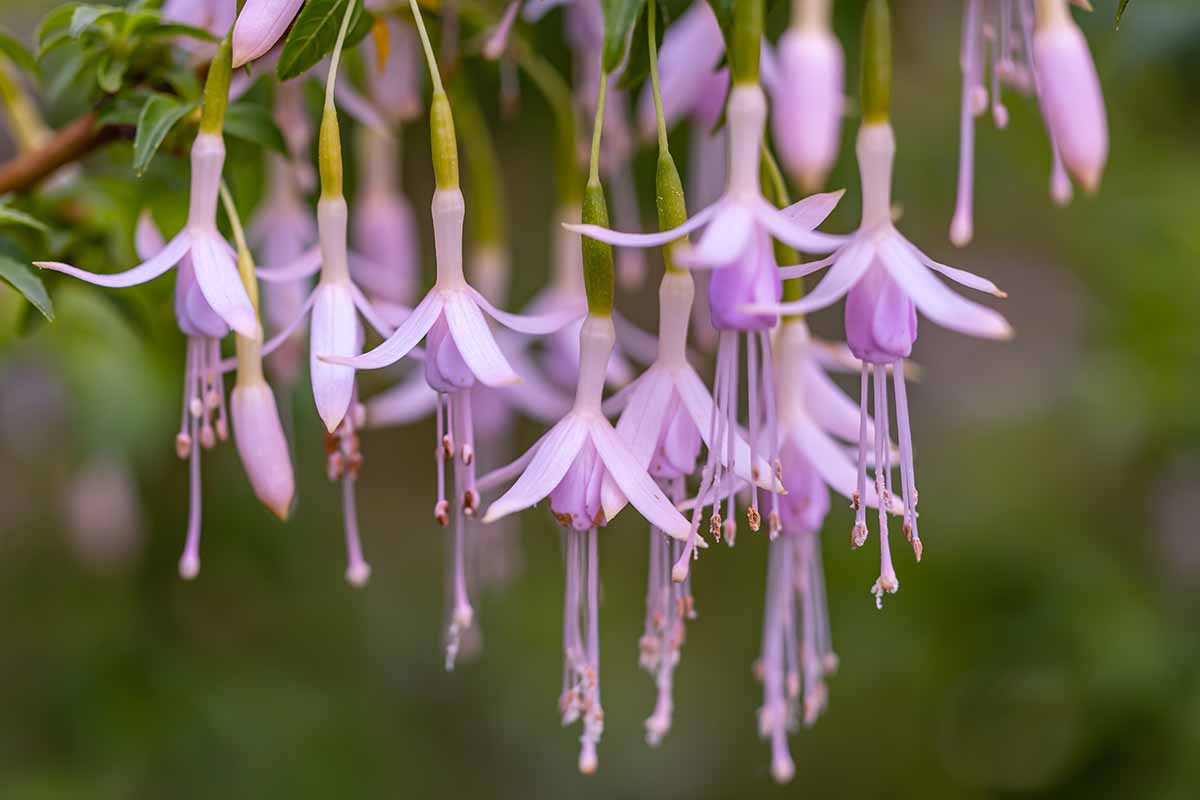
How to Propagate Fuchsia Plants from Stem Cuttings
If you love fuchsia flowers, one plant is great but more are better. Learn how to propagate fuchsias from stem cuttings in this guide on Gardener's Path.

Propagation can be such a fun adventure but it can also be a heartbreaking endeavor.
I can’t tell you how many times I’ve taken cuttings of a challenging species like some pines or my favorite calathea, only to be disappointed when it fails to take.
During those times, I boost my confidence by propagating my fuchsias. They make me feel like a champion, A +, super-duper plant propagator.

We link to vendors to help you find relevant products. If you buy from one of our links, we may earn a commission.
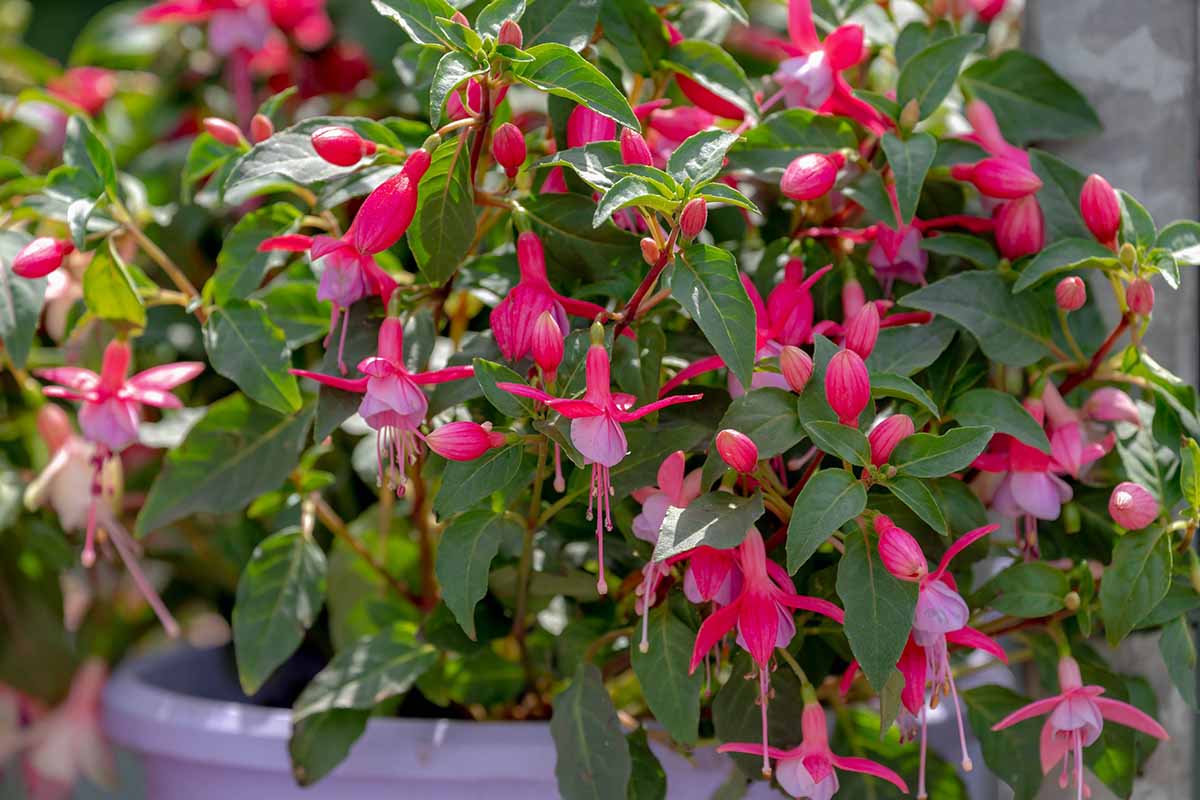
I grow my newly-propagated fuchsias in empty spots in my yard, give them away to neighbors, and make new ones to replace those that aren’t performing as well as they used to.
You can propagate fuchsia by starting seeds, from cuttings, and via division. Taking cuttings is my favorite method because it’s so reliable and the result is a clone of the parent plant.
Fuchsias can be propagated from both hardwood and softwood material, and either in soil or water, so you’ve got options.
Ready to become a gold medalist, best ever propagator? Keep reading! Here’s what we’re going to discuss:
Propagating Fuchsia by Cuttings
- Tools Needed
- From Softwood Cuttings
- From Hardwood Cuttings
For best results, tender types should be propagated via softwood cuttings.
Hardy fuchsia can be propagated via softwood or hardwood cuttings. If you need a rundown on how to care for fuchsias, visit our growing guide first and then come back here.
Before we get started, let’s go over the tools you need.
Tools Needed
You don’t need much to propagate fuchsia cuttings. A sharp pair of scissors or clippers is important. They should be clean, so either scrub them in soapy water, wipe them with isopropyl alcohol, or soak or wipe them with a 10 percent bleach solution before use.
You’ll also need containers, whether that’s a glass or two for rooting in water or pots for soil propagation. These, too, should be clean.
If you’re using soil, you’ll actually want a light soilless product like a seed starting medium.
One of my favorites is Tank’s-Pro Lite Seeding and Potting Mix, which is made from organic compost, organic coconut coir, and perlite.
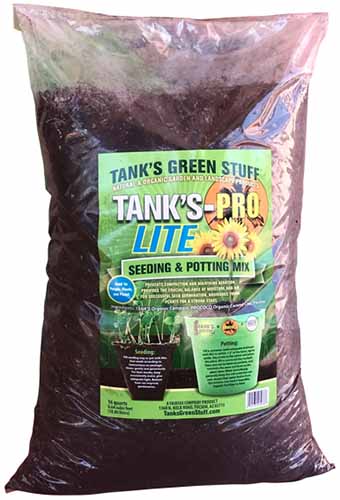
Tank’s-Pro Lite Seeding and Potting Mix
You can pick some up from Arbico Organics in 16-quart bags.
If you’re planning to take hardwood cuttings, using a rooting hormone can help the process along, though it isn’t required.
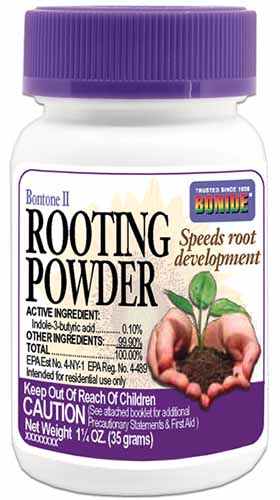
Bonide Bontone II Rooting Powder
While you’re picking up your potting medium, nab some Bontone II Rooting Powder at Arbico Organics.
From Softwood Cuttings
You can take softwood cuttings any time of year when the plant is growing, but I like to either do it in spring just before blooming or in fall, after the fuchsia has finished flowering.
If you start this project in fall, plan to keep the new plants indoors until the following spring.
Cuttings taken in spring tend to be more successful because the fuchsia grows more quickly at that point.
You will typically see new growth within just a few weeks, while fall-started ones can take months, leaving plenty of time for the plant material to start rotting before it has a chance to root.
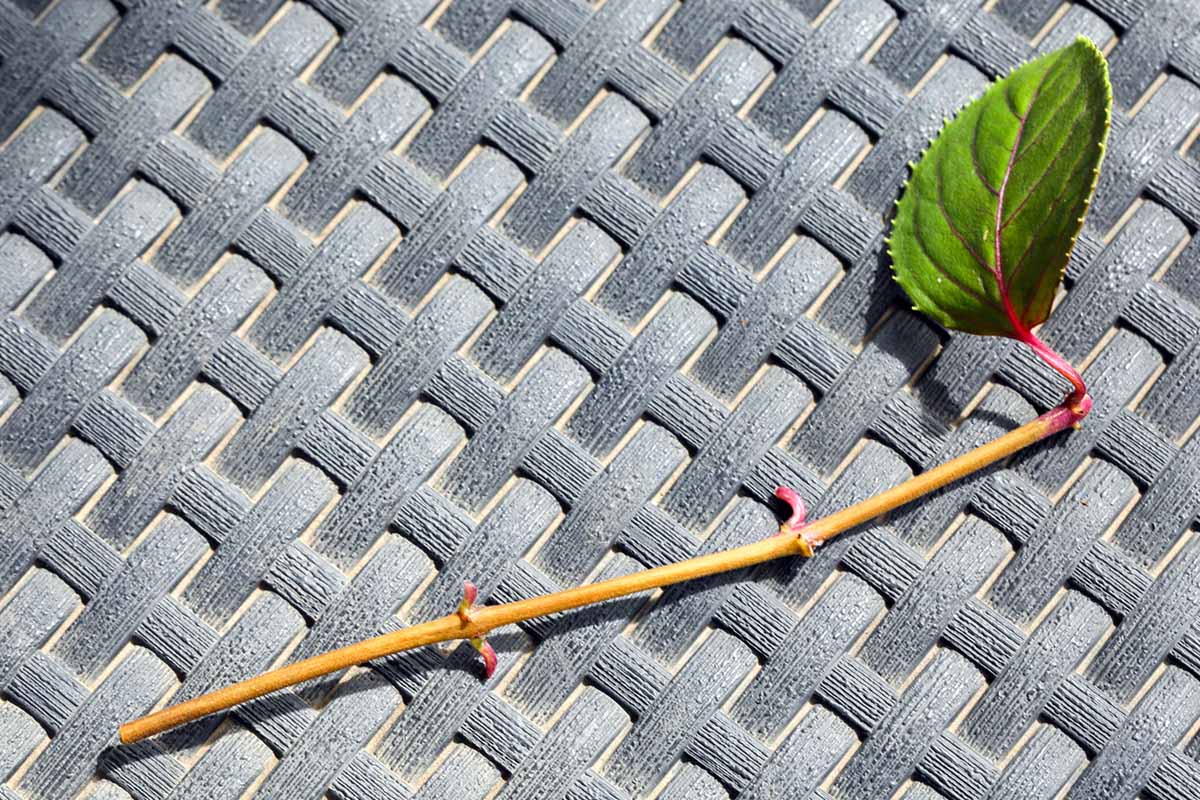
Use your clean scissors or clippers to take a six- to eight-inch length from a healthy branch and remove all but the top two leaves, and any flowers or buds that are present.
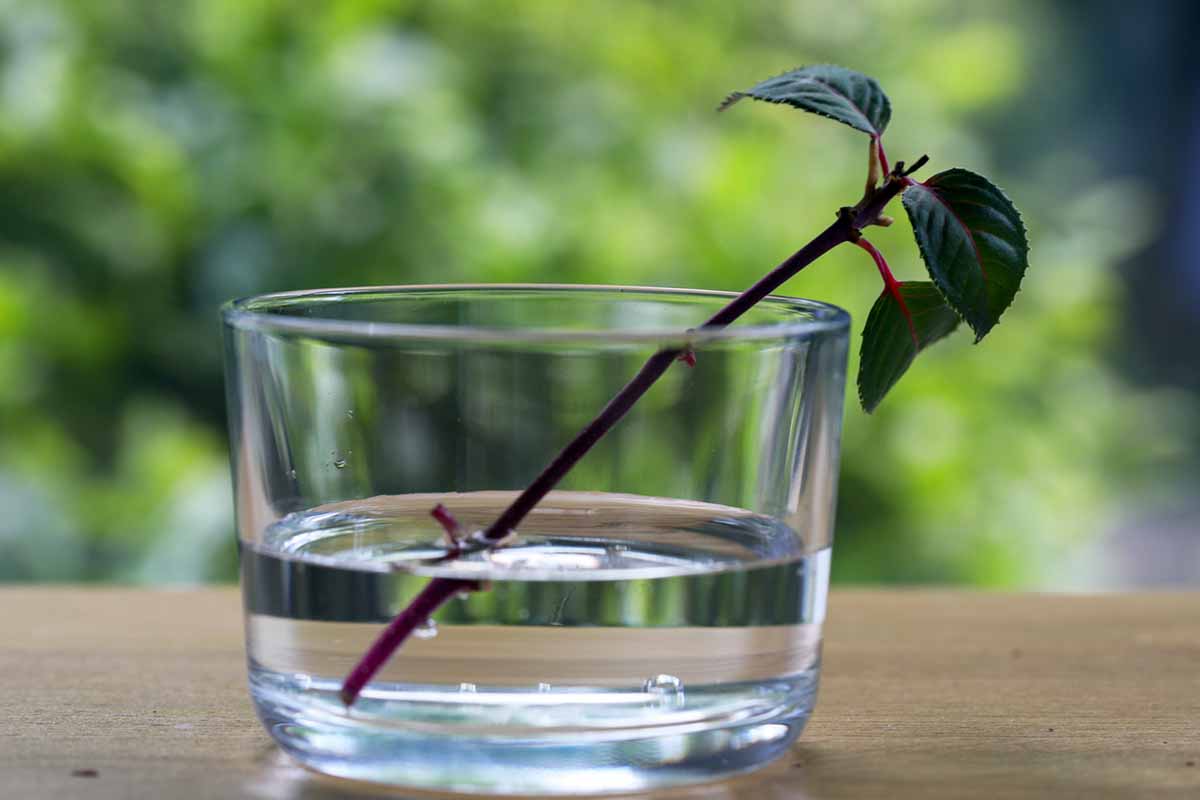
Place the stems in a glass of water while you prepare your choice of growing container.
If you’re planning to root them in water, simply fill a glass or jar with rainwater or filtered water. Tap water will work fine, too.
Then stick the fuchsia stems in the water so that about a third of their length is submerged. Set them in an area with bright, indirect light and change the water every few days.
For growing in a container, fill a four- to six-inch pot for each stem cutting you want to start with a soilless growing medium like the one mentioned above. Poke a hole in the middle of the medium.
Stick the cutting into the medium about halfway and firm up the medium around it. Water so the medium is moist but not wet and keep it consistently moist while the stem roots.
You can tent plastic over those grown in soil. Prop it up over the pot using something like a chopstick to keep the plastic from touching the plant.
Place the cuttings in an area with bright, indirect light that is consistently warm, between 45 and 70°F.
You can easily tell when the cutting has roots if you’re growing in water, as you’ll be able to see them. Once you see the roots forming and they are about an inch long, plant the starts in individual four- to six-inch containers filled with seed-starting medium.
For those in a growing medium, it’s a bit harder to figure out if the cutting has rooted, but you can tell when the plant sends out new growth.
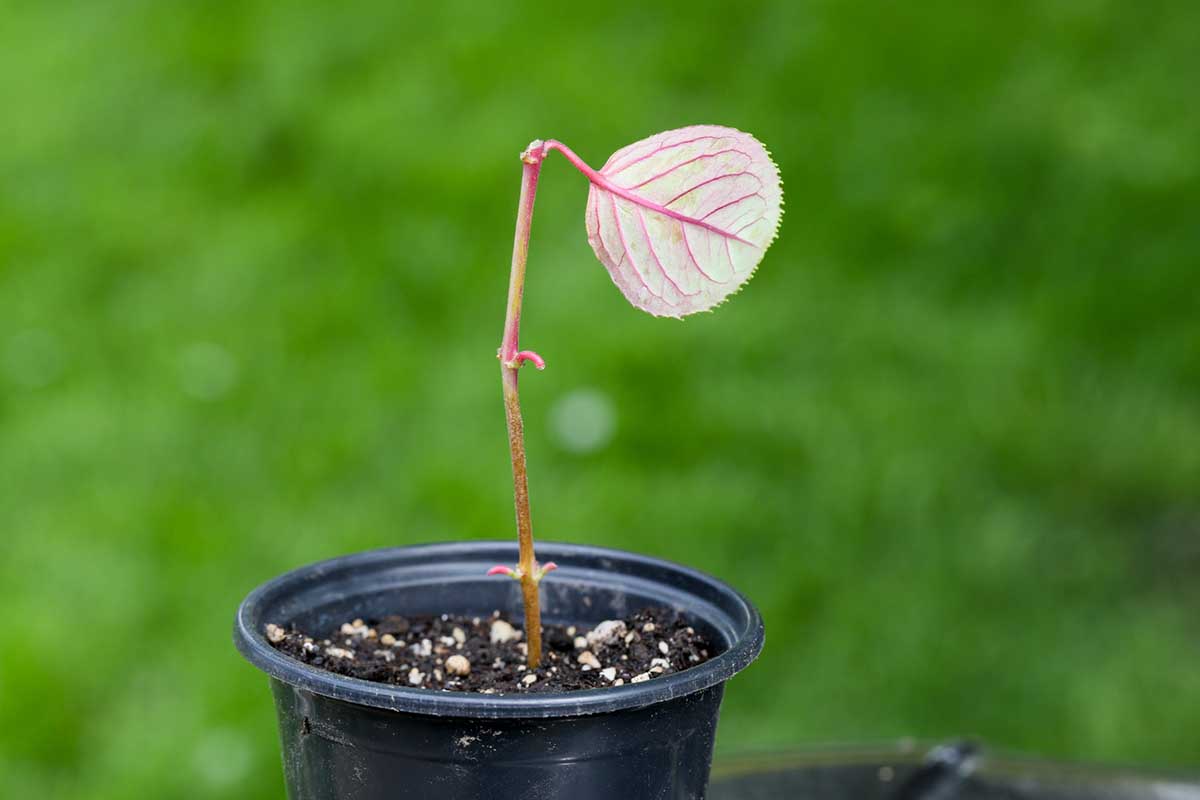
If a month or two has passed and there’s no aboveground growth, you can gently lift the stem out of the medium to look for roots or just let it keep doing its thing. So long as it isn’t starting to rot you can continue to wait.
Once the cuttings have developed new growth and appear healthy and robust, harden them off and move them to their permanent location.
You can do this anytime of year so long as the temperatures are right for the particular species you are growing. Hardy types can be planted outside in spring, summer, or fall.
Hardening off is the process of gradually introducing a plant to the harsher conditions of the outdoors. Your plant hasn’t had to deal with wind, wildly fluctuating temperatures, or bright light in its safe little spot in your house.
So, bring it outside and set it in the spot where you intend to plant it. Leave it there for an hour. Then, bring it inside again. The next day, do the same thing, but add an hour. Keep adding an hour each day for a week.
From Hardwood Cuttings
Hardwood cuttings are best taken in the fall. Start by identifying a healthy plant – you don’t want to take material from a sick or pest-infested plant.
Then, identify a healthy looking branch with brown wood. You can take a cutting from green growth, but that would be a softwood cutting. Select a stem that is about the same diameter as a pencil.
Take a six- to eight-inch stem making your cut at a 45-degree angle and set it in a cup of water to keep it moist until you’re ready to plant. If you cut multiple lengths of stem from the same branch, cut the tops flat so you know which end is up.
Once you’re ready, fill a four-inch container for each stem cutting with seed-starting mix and poke a hole in the middle.
Remove all of the leaves, if present, except the top two from the stem and dip the cut end in rooting hormone. Insert the stem into the pot so it’s sitting about halfway deep in the soil.
Moisten the soil so it feels like a well wrung out sponge and keep it that moist throughout the rooting process.
Keep the cuttings in a spot with bright, indirect light that is warm, between 45 and 70°F. Near a north-facing window would be ideal, but only if your windows aren’t drafty.
You probably won’t see much or any growth during the winter since this is the fuchsia plant’s dormancy period. But eventually, as spring approaches, you should see new shoots emerging.
Let the new plants continue to grow until they have several new branches and look nice and robust. Size doesn’t matter, you just want to see that it’s growing well.
In the late spring or early summer, you can harden the plants off as described above and transplant them into the ground.
Of course, you can skip the transplanting process if you intend to keep your fuchsia indoors as a houseplant.
A Cut Above
I love a project that makes me feel like the best gardener in the world. As long as I have space available, I’m going to keep taking fuchsia cuttings for propagation.
The pot on my patio? It needs a new plant! The empty hanging basket in the back corner? Grab me a cutting! The kitchen? It’s begging for another indoor fuchsia. The closet? Worth a try!
What kind of cutting are you taking and where will you keep your new fuchsia? Let us know in the comments section below. Feel free to ask any questions you have there if you run into trouble.
If you’d like to dive even deeper into the world of fuchsia flowers, we have several other guides that you might find useful, including:
- Are Fuchsias Edible? Learn About Eating Fuchsia Berries, Leaves, and Flowers
- Why Is My Fuchsia Wilting? 5 Common Issues
- Do Fuchsias Need Deadheading?